

Set up your workspace
Create a workspace for your team and choose where to start in Complyance. Sign in to your account to answer seven setup questions.
If a colleague invited you, join their workspace instead of creating another one. See Join from an invitation.
Complete the setup questions
Use Continue after each answer and Back to change an earlier answer. The final step uses Create workspace instead of Continue.
Choose your profile type
Choose Business if you manage compliance for your own company. Choose Partner if you provide tax, accounting or technical services to other businesses.
Your choice changes the questions that follow and which platform opens when you finish.
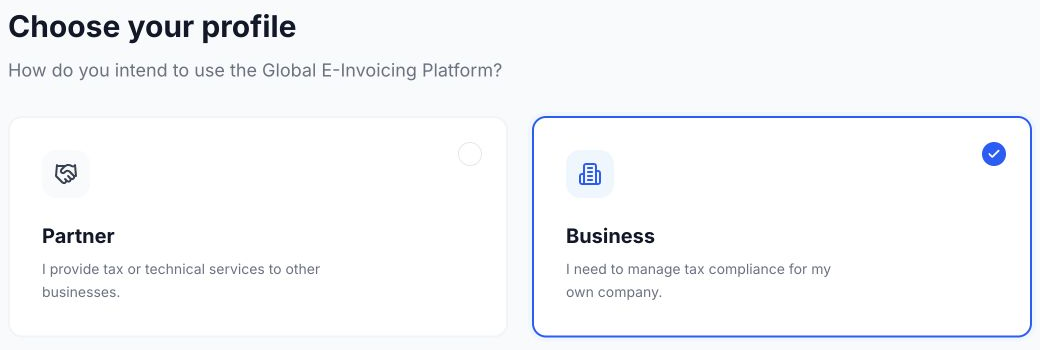
Choose your role
Select the role closest to your day-to-day work. For a business, the choices include Finance / Tax, Operations, Developer / IT, Leadership and Other.
Partners see a different set of roles, such as CA / Tax Advisor, Accountant and IT / Developer. This question describes your work; it is separate from the access role you choose when inviting teammates.
Describe your business or firm
For a business, select your industry, such as Retail, Manufacturing or Professional Services.
For a partner, select the type of firm, such as Accounting Firm, System Integrator or ISV. An ISV is a software provider building invoicing into its own product.
Choose your business size
For a business, choose the range that matches your number of employees. For a partner, choose the number of clients you manage today, not the size of your own team.
Select your countries
- Select each available country where you operate. Use Search countries… to find a country in the list.
- In your selected countries, click the one you want as your primary country. It should show a Primary badge. If you select only one country, it becomes primary automatically.
- Choose Continue.
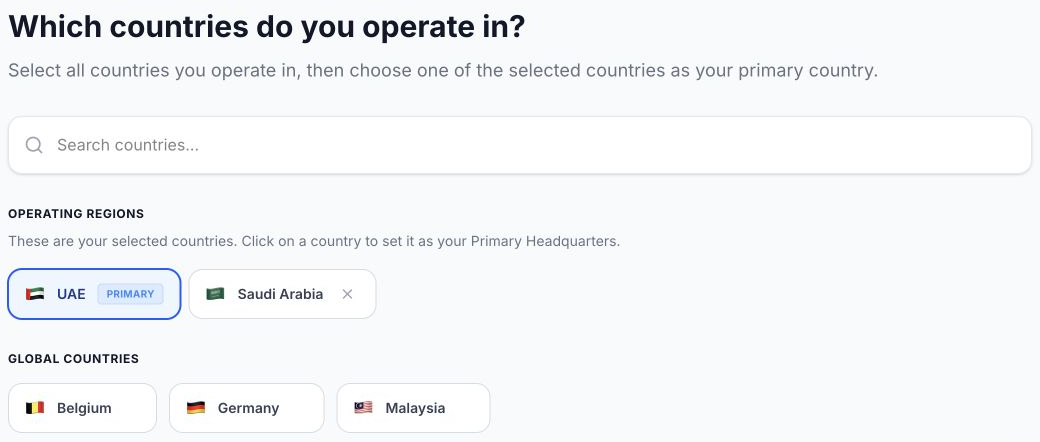
Choosing a country here does not register your company for e-invoicing. Company onboarding comes after workspace setup.
Choose your current software
Select the ERP or accounting system you use today. The available choices depend on whether you chose Business or Partner.
If your system is not listed, choose Other and enter its name in Which software are you using?. You need to fill in that field before continuing.
This step records your current software. It does not connect that system or import your invoices.
Name and create your workspace
- Enter a
Workspace Name, such as Acme Trading. This is the name of your team’s shared space, not the company registration form. - Review the suggested
Workspace URL. For example, Acme Trading suggestsacme-trading. You can edit the address before creating the workspace. - Add the optional details you want, then choose Create workspace.
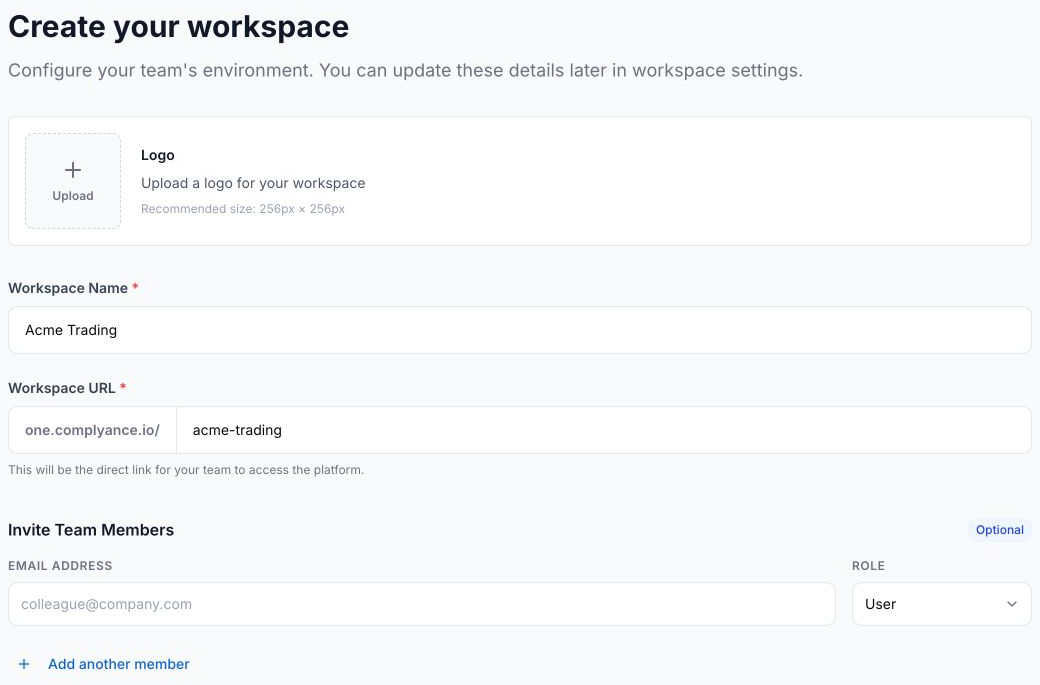
To add a logo, choose Upload. The screen recommends a 256 × 256 px image; keep the file at or below 700 KB.
To invite teammates, enter their email addresses under Invite Team Members and choose a role for each: Admin, User or Guest. Choose Add another member for another row. Leave the email fields empty if you are not ready to invite anyone.
Partners can also enter a Company Website. This is optional.
Where you land
- A Business profile opens the One Platform dashboard, unless you chose Developer / IT.
- A Business profile with Developer / IT opens the Developer portal.
- A Partner profile opens the Partner Platform, including partners who chose IT / Developer. Partners who selected ISV open the ISV dashboard.
You should leave the setup questions and see the appropriate dashboard or portal. If you are asked to sign in again after creating the workspace, sign in with the same account.
If something goes wrong
Continue is unavailable
Check that you selected an answer for the current step. On Country, you need at least one selected country and a primary country. On Software, choosing Other also requires a software name.
Create workspace is unavailable
Check that both Workspace Name and Workspace URL contain a value. A logo, team invitations and a partner website are not required.
The logo is too large
Use an image at or below 700 KB, or leave the logo out and add it later in workspace settings.
Next step
Onboard your first company. You need it to send real invoices.
Last updated